

Many of you who follow me on various social media platforms will know that my
mum has been quite poorly. It’s actually a massive understatement for what
she has been through. She’s had a major operation that will take months to
recover from. The stress of being so far away from my mum and too sick to
travel impacted my health a lot over the summer. So as soon as I could take
a breath and think straight I decided I was going to make her a very special
gift for her birthday in September.
I was very lucky that a friend on Instagram gifted me a pattern for a quilt,
which I had seen her make and loved. It was 4 pussy cats, spread over 4
separate panels, making it a lap quilt. The cats were made by using applique
and then sewing over the raw edges. Initially when I decided to make the
quilt I was going to use fabric from my stash but whilst I was mulling over
the quilt in my mind I decided I wanted to buy some material for the cats.
I knew I wanted muted colours rather than bright colours. I had also had
the last of one of my subscription boxes, I was unimpressed with the project
contained within so I decided I would use the floral fabric charm pack
( 5 inch squares ) in conjunction with the polka dot fabric I purchased.
The white background fabric was bought earlier on in the year during
the sales. I had no plans for it and decided this would be superb for what
I wanted to do. The pattern was discreet enough that it wouldn’t fight with
the fabric I wanted to use for the cats which I wanted to be centre stage.
I've not done much applique before so I was a bit stressed about it.
To be honest everything was stressing me out when I started this quilt.
My brain was just fixating on anything it could to worry about. I made the
first two cats and immediately fell in love with them.


Both cats had been fiddly to do and although I loved them both, I decided
to do what I always do which is make it up as I go along. When I had last
seen my mum she had been in awe of the free motion embroidery I had
done on a cushion.

I decided instead of having 4 cats on the lap quilt, I would have two cats
and two mice, as I knew how much my mum had loved the mouse on the
cushion. This also meant that the lap quilt would be completely unique with
it being a mash-up of two different designs.

The above photo shows the 4 panels that have the applique designs on
them. These were created using bondaweb, which is a fusible webbing.
It's very fine material that is a glue. On one side you have paper and on the
other side is a rough surface which has glue on it. To begin you trace out
your design onto the paper side of the bondaweb. Then using a dry iron
you stick your traced shapes to the wrong side of your fabric. You then cut
your fabric shapes out, then remove the paper ( I use a pin to score it as
it makes it easier to remove). You then position the shapes how you want
them to appear on your background fabric. Using a damp cloth and a
steam iron you apply heat to the fabric to bond it to the background fabric.
This is raw edge applique, as you haven’t turned the edges over, so the
raw edges are exposed. To prevent fraying you then sew over the edges.


For the mice I used a different technique, which is called free motion
embroidery. This is where you drop the feed dogs ( these are the things
that pull the material under the presser foot as you sew), I also have a
special bobbin case for my Janome Atelier 5 ( blue dot bobbin case)
which has a lower tension on it. It makes the world of difference when
doing free motion quilting or embroidery. I also attach the darning /
embroidery foot which is a closed toe. I haven’t done much free motion
quilting, I really need to make up some quilt sandwiches and just have
a play but I've done a couple of pieces of free motion embroidery. The
free motion embroidery gives the applique an outline and it also makes
it look like you have drawn the edges on. I love the way it looks and the
fact that it doesn’t have to be brilliantly accurate as its supposed to look
a bit messy!


After I had completed the 4 panels, I made my patchwork backing for the
quilt. I wanted the quilt to be as beautiful on the back as it was on the front
and in effect be reversible. I used my charm squares for this and added in
some squares of the background fabric so it tied it to the front of the quilt.
Using precut fabrics speeds things up, as you can literally just sit and sew.
Things come together very quickly. I was extremely lucky with the finished
size of the back panel as it was a complete guess. As at the time of putting
this together I hadn’t decided how big my borders were going to be that would
join the 4 panels together.

I decided to use the backing fabric from the panels as part of the sashing
joining the panels together. I also used some of the fabric that I had made
the cats and mice out of to tie all the fabrics together. I settled on 1 ½ inch
strips of fabric, sewn together with a ¼ inch seam allowance. Thankfully
earlier on this year I bought a creative grids stripology ruler, which means
cutting strips is an absolute doddle. Cutting that would normally have taken
me hours and lots of ruined fabric - because I can't cut straight or measure
accurately for toffee, now takes a matter of minutes. I can’t tell you how much
I love these rulers, they’ve made my life so much easier! I used a 3.5 strip to
make the outside border.

I then freaked out for a few days over how I was going to quilt this. I couldn't
decide if I was going to leave the applique panels unquilted and only quilt
the borders. Or if I was going to quilt the applique panels how would I do it
without distracting from the applique. I won’t lie it gave me a sleepless night
or two. This was an important present, that had significant meaning for me.
It was important that I got this right because once I started there would be
no going back. Thanks to Instagram and all the quilters I follow my deliberations
over the applique patterns were brought to an end when I saw how someone
else had quilted their work with just straight lines about an inch apart but not
going through the applique. It would be tricky as each time I started a new
section would mean bringing the bobbin thread up, something I hadn’t had
to do for ages as my new machine means I don't have to do this. By bringing
the bobbin thread up it meant I would avoid a nesting of threads on the back
of the quilt, when a locking stitch was used. Although it's not perfect I used a
few small stitches forward and back to secure my threads. I am not advanced
enough at the moment for burying threads and due to when my mums birthday
was I didn’t have lots of time to master a completely new technique.
Quilting took a few hours and a lot of back, arm and shoulder pain from terribly
bad posture.


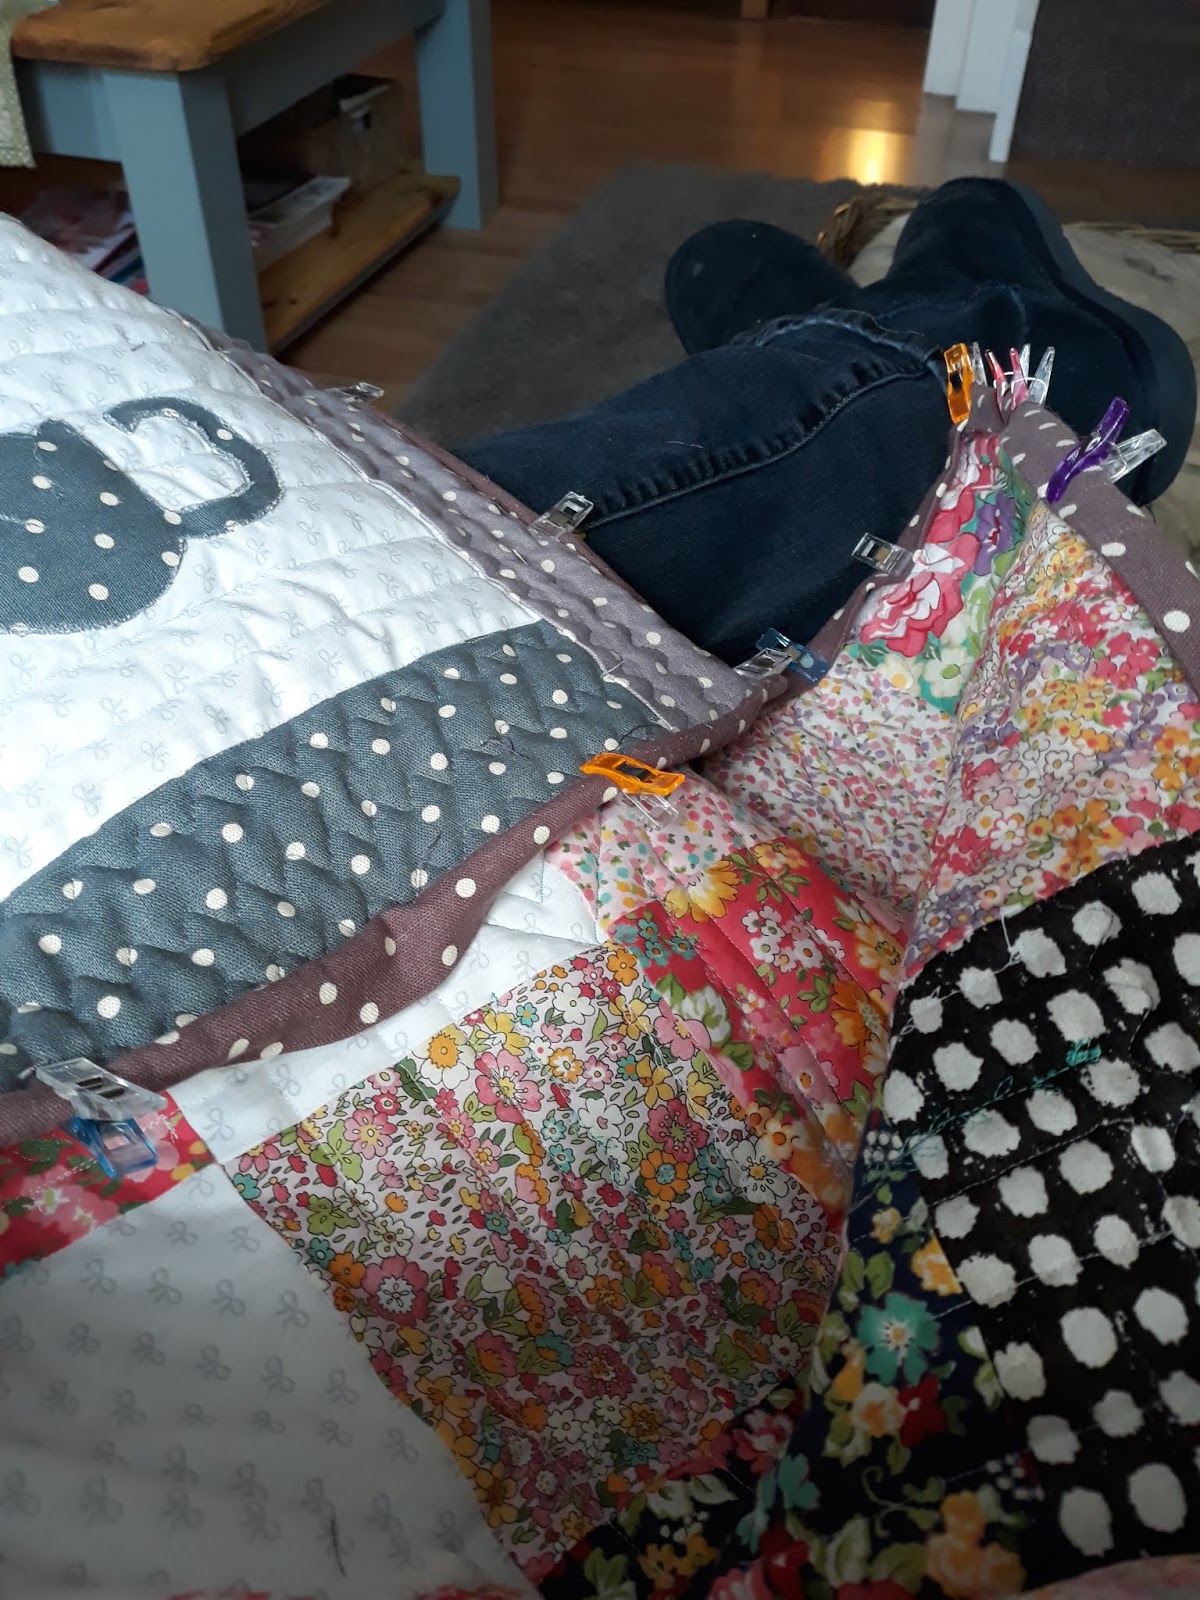
To finish off the quilt the raw edges of the material needed to be bound,
if you didn’t do this the material would fray and the wadding / batting would
be lost from the quilt. I made the binding using a fat quarter from the polka dot
material I bought. I used my stripology ruler and cut 2.5 inch strips and then
joined them together. It then needed to be pressed, and folded in half.


The raw edges of the binding and the raw edges of the quilt are lined up
and then I used the sewing machine to sew the binding onto the front of
the quilt. I had an absolute nightmare with the binding. After sewing it on
I had to unpick it as I had sewn too far over and not left myself enough binding
to pull over to the reverse of the quilt. It took me over an hour to unpick.
I was also having a disastrous time with mitred corners. So I have done the
best I can. Once I was "happy" with how the binding was sewn onto the front
I then settled down for a few hours of slow sewing whilst I ladder stitched
the binding onto the back.
This process took ages as the polka dot material was quite thick. I have
ended up with blister's on my thumb, forefinger and middle finger. There
is also a bit of my DNA in the quilt as I lost count how many times I stabbed
myself! Finally the quilt was finished.


The very last job left to do was to sew the label onto the quilt. This was a
personal message to my mum, so I won't be sharing. However it also covers
who it was quilted by, on what date and what the design is called. I have named
it Cat & Mouse.
It's quite exhilerating finishing a quilt but it can also leave you feeling a little flat.
You are overjoyed at what you have accomplished but for me I have lost that
drive of what I have to achieve for the day. I really hope my mum likes it.
update:
It was gifted to her on 1st September and she was thrilled to bits with it.
update:
It was gifted to her on 1st September and she was thrilled to bits with it.
No comments:
Post a Comment